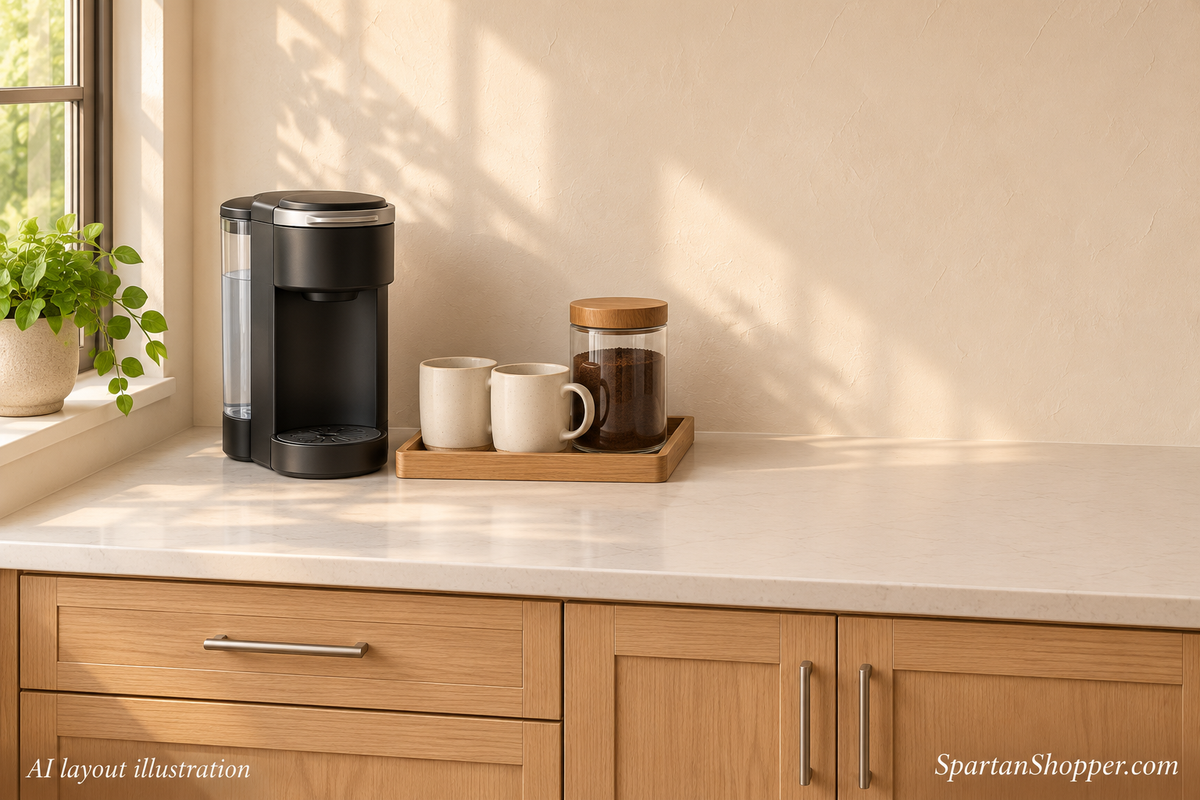
6 Coffee Station Ideas for Small Kitchens That Fit
SpartanShopper · November 9, 2026
Make room for coffee with six small-kitchen layouts, illustrated ideas, a measurement checklist, and practical checks before buying storage or a brewer.
A coffee station in a small kitchen works when it leaves you room to make breakfast. Start with the brewer you use, keep only everyday supplies beside it, and move spare mugs and refills into a drawer, cupboard, or nearby cart. You do not need a separate coffee-bar cabinet.
Below are six coffee station ideas for small kitchens, each with a different space problem to solve. Choose the layout first, then measure before buying a tray, organizer, or new machine.
Affiliate disclosure: As an Amazon Associate, SpartanShopper earns from qualifying purchases. The Keurig and Breville buying links below are affiliate links. Other source links are provided for reference.
About the pictures: these are AI-generated layout illustrations with generic equipment, not photographs of the linked products or our own kitchen. This is a researched planning guide, not a hands-on product test. Product references were checked November 9, 2026.
Choose the layout that fits your space
| Your available space | Start here | The tradeoff |
|---|---|---|
| A little spare counter | 1. A small accessories tray | The brewer still needs its own usable footprint |
| A cupboard, but no permanent counter space | 2. A pack-away manual kit | You set up and put away each time |
| A parking spot beside the kitchen | 3. A supply cart | It uses floor space and must not block doors |
| An accessible wall beside the brewer | 4. Mugs on a separate shelf | Installation and comfortable reach matter |
| A spare drawer near the brewer | 5. A coffee-supply drawer | The organizer must fit inside the drawer |
| Room for an espresso workflow | 6. A dedicated counter end | Grinder, pitcher and cleanup take extra room |
1. Keep the accessories on one small tray
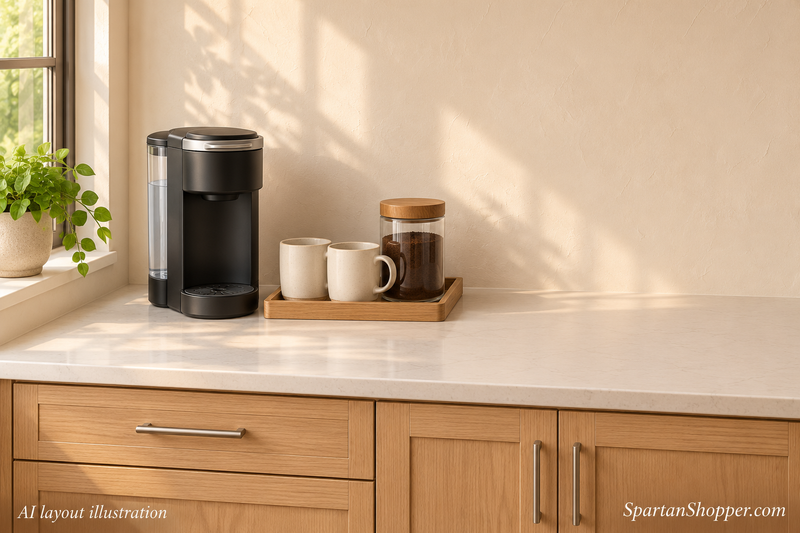
Use this when you already have a coffee maker and want a tidier counter without installing anything. Put your everyday mugs, a spoon and a closed coffee container on a tray beside the machine. Keep backup supplies somewhere else. The tray sets a useful limit: if everything spills beyond it, edit the collection before buying a bigger tray.
Measure the tray’s outside edges, including handles, against the space left after the brewer is in position. Leave room to remove the drip tray, lift a water tank and open the pod handle or filter lid. A machine that fits while closed may still be awkward to fill.
Skip this layout if the tray takes over your only chopping space. A smaller collection, or the drawer idea below, is more useful than another decorative surface. Start with a washable tray and mugs you already own.
If you are replacing a bulky brewer and prefer pods, the black Keurig K-Express is one option to compare. The checked listing offers 8-, 10- and 12-ounce brew sizes and a removable 42-ounce reservoir. It makes one cup at a time; it is not an espresso machine or a built-in milk frother. Check the exact listing’s dimensions and open-handle clearance, not just the word “compact.”
Check the black Keurig K-Express listing — compare its fit and current price before replacing a working machine.
2. Make a pack-away manual coffee kit
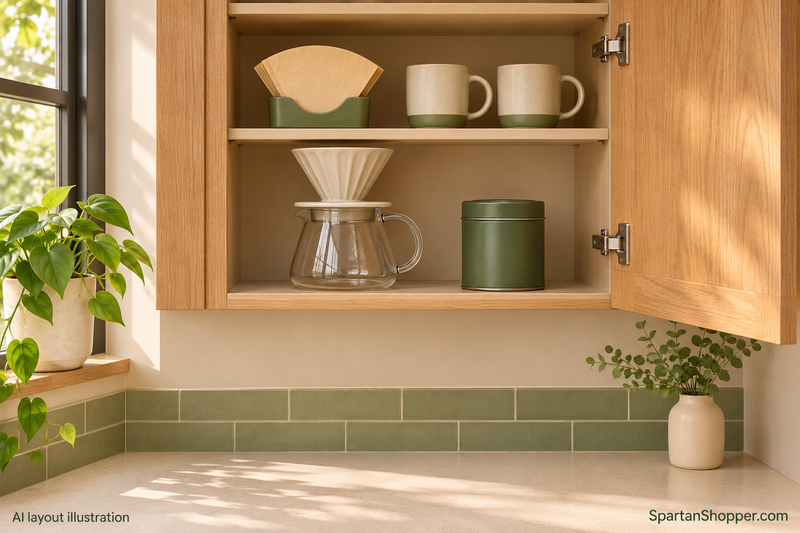
Use this when the counter has to switch jobs after breakfast. Group a manual dripper, compatible filters, your usual mug or server and a coffee container on one cupboard shelf. Bring the pieces to a stable work surface when you want a cup, then clean and dry them before putting them away.
This is especially practical if you already make pour-over coffee. It does not make the kettle, hot-water step, or any separate grinder disappear: include those in your plan. Store the kit at a comfortable height so you are not lifting fragile pieces over your head every morning.
Skip this if setting up each morning would be a chore you resent. The point is to reclaim space, not to make coffee less convenient. A small permanent brewer with supplies in a drawer may suit you better.
3. Give the supplies their own cart
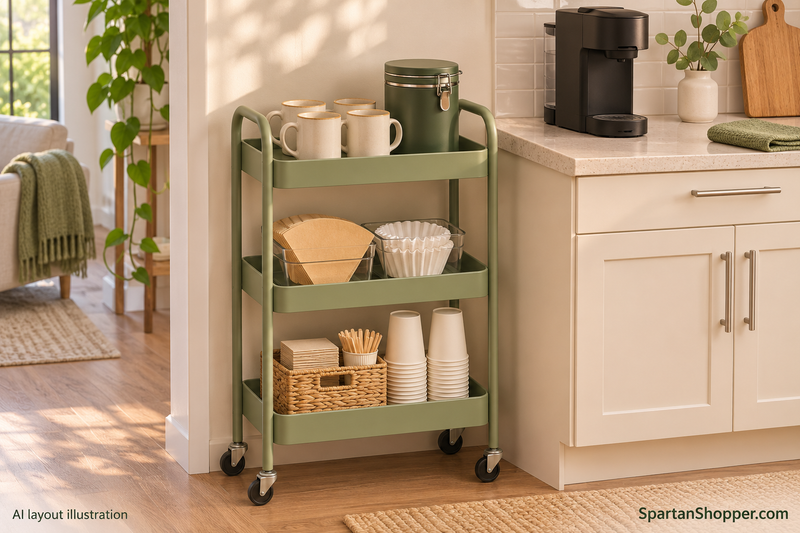
Use this when the counter is crowded but you have an actual parking spot beside it. Keep everyday mugs and coffee within reach, and put refills lower down. The cart can take the place of several countertop containers without requiring wall holes.
Measure the complete cart, including wheels and handles, and check the space with the dishwasher, fridge and cupboard doors open. Also leave enough room to walk past carrying a mug. A cart that fits in a photo may be irritating in the route between your sink and fridge.
For a size reference, IKEA lists the black NISSAFORS utility cart, article 203.997.77, at 19 7/8 by 11 3/4 by 32 5/8 inches. That is its overall size, not a promise about the usable shelf area. Treat it as a supply-storage example; the green cart in our illustration is generic.
See IKEA’s NISSAFORS dimensions
Skip this layout if you would need to park the cart in a doorway. Keep your powered brewer on the stable surface specified in its manual; this suggestion does not assume a lightweight trolley is suitable for operating an appliance.
4. Move mugs up and to the side
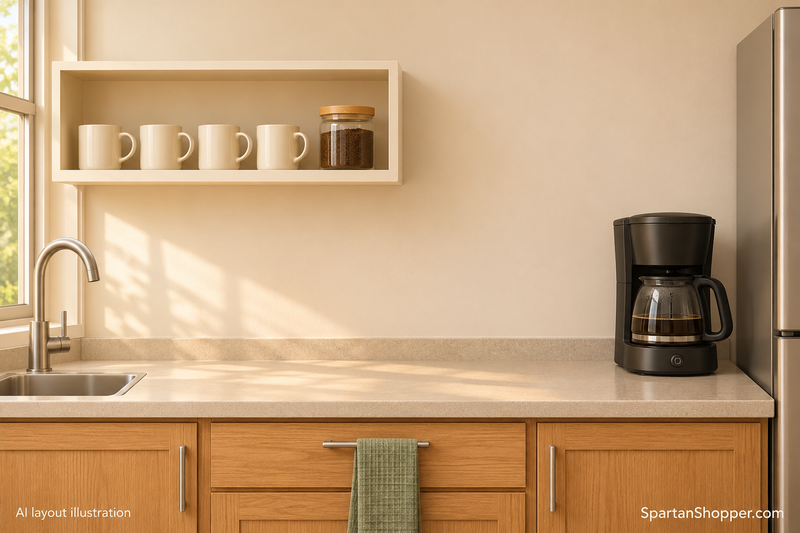
Use this when an accessible wall can hold the cups that currently surround the machine. A small shelf beside the coffee area creates a home for everyday mugs while keeping the brewer’s lid and filling route clear. Position it where you can comfortably reach the cups; a high shelf that needs a stool is better for occasional storage.
Check your wall type, the shelf’s load limit, mounting instructions and permission to drill if you rent. Add the weight of the shelf’s contents, not just the number of mugs in the product picture. Leave the appliance clearances required by its own manual.
Skip this if mounting is unsuitable or you would have to reach across a hot machine. Do not assume an adhesive hook is suitable for heavy mugs. Moving the cups into an existing cupboard gives you the same uncluttered counter without a new installation.
5. Turn a nearby drawer into coffee storage
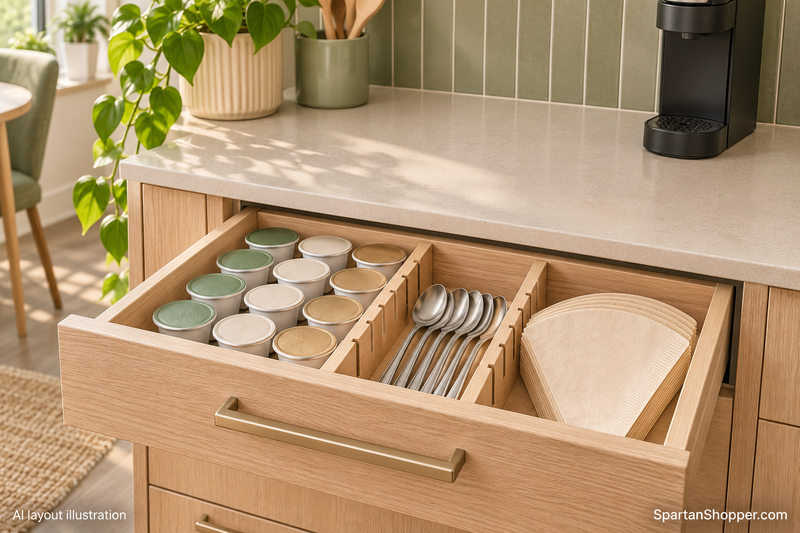
Use this when you have a drawer close to the brewer. Separate pods or filters from spoons and small accessories, leaving space to see what needs replenishing. You may only need an existing cutlery tray or a couple of small containers.
Measure inside width, front-to-back depth and usable height with the drawer closed. The outside drawer-front measurement is not enough. Check the tallest pod or container too, and open the drawer fully to see whether the handle or contents interfere with your stance at the coffee maker.
Skip this if it displaces utensils you use more often. A freestanding pod drawer underneath the brewer is a different purchase: it raises the machine and reduces overhead clearance. Do not substitute one without checking support, stability and the new lid-opening height.
Need to reorganize the rest of the kitchen? Compare other space-saving kitchen tools for fit checks on drawers, cabinets and counters.
6. Reserve a counter end for an espresso workflow
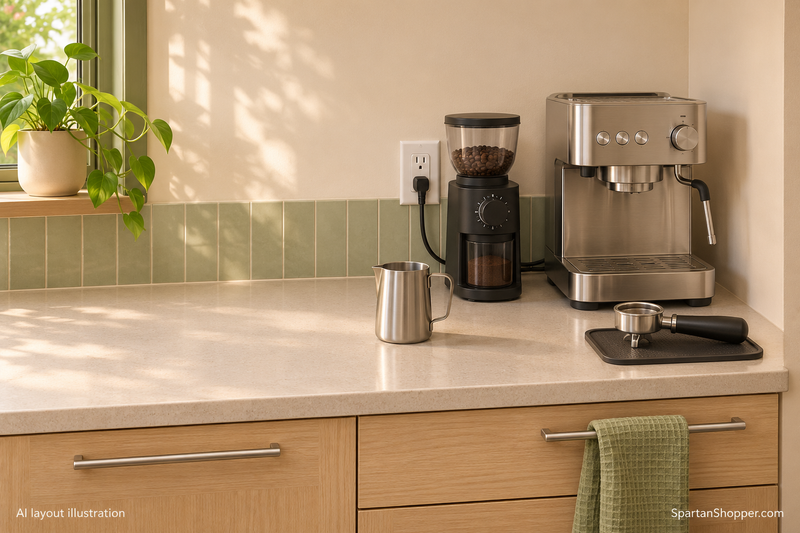
Use this when espresso or milk drinks are already part of your routine. A narrow machine can still need room beside and in front of it for a grinder, milk pitcher, portafilter and tamping area. Give those tasks a defined home instead of surrounding the appliance with decorative jars.
Before buying, set out paper rectangles for the machine and any separate grinder using their current published dimensions. Add your actual pitcher and mug, then imitate filling, preparing a drink and removing the drip tray. This is a layout check, not a substitute for the appliance’s required clearances.
The Breville Bambino Plus BES500BSS is an example for shoppers who want espresso with automatic milk-texturing assistance. It has no built-in grinder. Breville’s manual specifies dual-wall baskets for pre-ground coffee, so a separate grinder is a decision rather than an automatic first purchase. You still prepare the coffee and clean the equipment.
Start with the basket, grinder and cleanup details: Read our Bambino Plus buying guide
If that routine suits you, Check the brushed-stainless Bambino Plus BES500BSS and compare the exact machine’s current dimensions and price.
Skip this setup if you mainly want one quick mug of brewed coffee. The espresso machine, accessories and ongoing cleaning may be more of a commitment than your morning needs.
Save this measure-first checklist
Write these down or take a screenshot before shopping. Measure with the kitchen in use, not just with every door and lid closed.
- Available counter width: ____ Usable depth: ____ Clear height above the counter: ____
- Brewer model and footprint: ____ Height with lid or handle open: ____ Water-tank removal direction: ____
- Room needed for your mug, drip-tray removal, pitcher or grinder: ____
- Tray or organizer outside size: ____ Drawer usable inside width, depth and height: ____
- Cart parking space and door-opening space: ____ Shelf mounting and load limits checked: ____
- A suitable outlet and cord route, clear of walkways and hot surfaces: ____ Manufacturer placement instructions checked: ____
Worked example: suppose your chosen counter area is 18 inches wide and the machine takes 6 inches across. That leaves 12 inches on paper, but a 12-inch tray may still be too tight once handles, access and clearances are considered. These are hypothetical planning numbers, not the dimensions of either linked machine.
Keep the styling simple
Repeat one or two colors across mugs and containers, and let the useful objects provide most of the decoration. A cream mug, wood tray and green container can look intentional without adding a sign, vase and tiered stand. Keep only the supplies you reach for daily on display.
For a first attempt, rearrange what you already have and live with it for a few mornings. Notice what blocks the water tank, which drawer you actually open and where the wet spoon lands. Buy the one missing piece that solves that problem.
Sources and product checks
The layouts are editorial suggestions. Product facts below come from manufacturer documentation and the linked retail listings checked November 9, 2026. Prices, stock, variants and included accessories can change; this guide does not promise a discount.
Keurig K-Express manufacturer specifications
Breville Bambino Plus product information
Breville BES500 instruction manual
IKEA NISSAFORS product measurements
If coffee refills are competing with the rest of your food storage, our seven small pantry organization ideas show how to plan deep shelves, packet bins and backstock, with a checklist for measuring before you buy.
Get Exclusive Coupon Codes
Deals and discount codes delivered to your inbox. No spam.
Get a Free Healthy Snack Box
Gluten-free, sugar-free, better-for-you snacks. No purchase required.
Claim My Free BoxSponsored offer. No purchase necessary.