Hot Chocolate Bar Ideas for Small Counters and Carts
SpartanShopper · November 10, 2026
Build a small hot chocolate bar with three layouts, a short topping list, and a checklist for mugs, serving space and optional containers.
A small hot chocolate bar needs a place to set a mug, a safe place to pour and a short row of toppings. Start with three toppings and keep refills elsewhere. You can use a counter, a cart or a temporary side table; the best choice is the one that lets guests serve themselves without crossing your cooking area.
Affiliate disclosure: SpartanShopper may earn a commission from purchases through links on this page, at no extra cost to you. As an Amazon Associate, we earn from qualifying purchases.
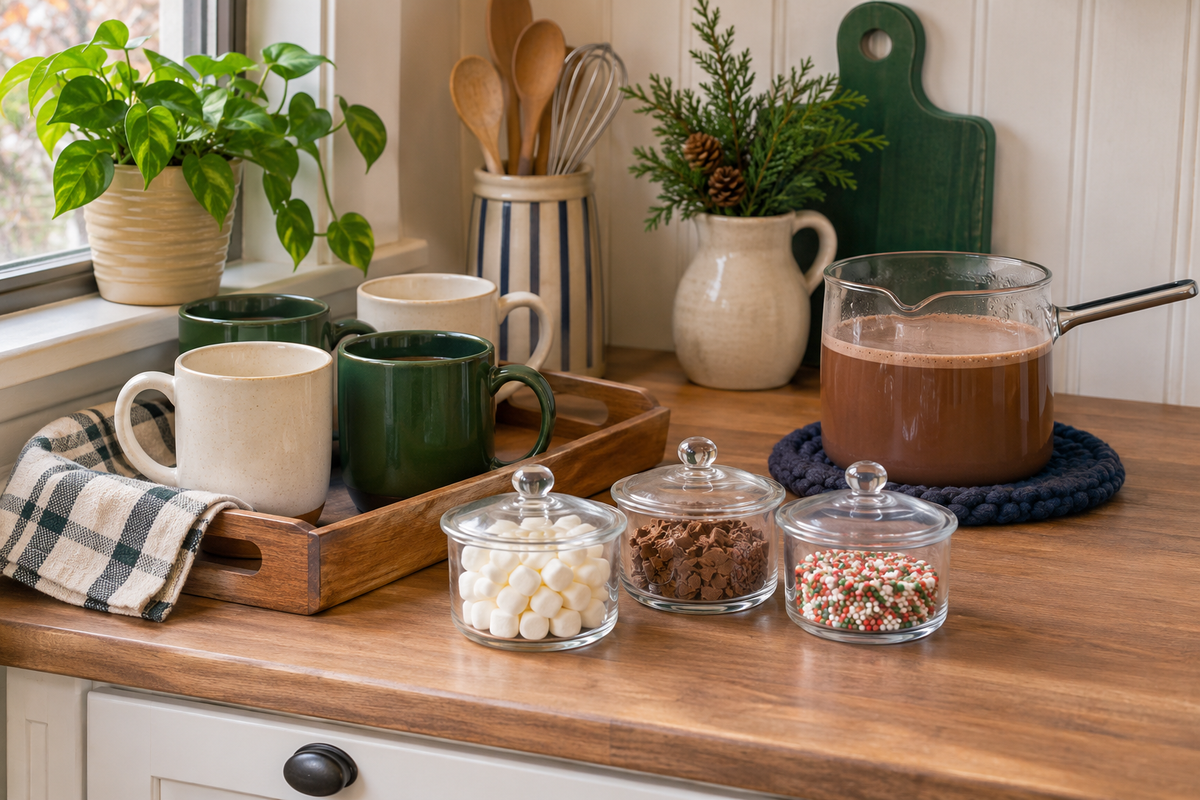
The cover image is an AI-generated editorial illustration, not a photograph of the linked product or proof of a tested project.
Layout 1: a single tray on the counter
Put clean mugs at one end, then leave a clear landing area before the toppings. Keep the hot cocoa in a vessel designed for hot liquids, on a stable surface and away from the edge. Arrange the station in the order people use it: pick up a mug, pour, add toppings, collect a napkin.
A tray makes the dry items easy to move when you need the counter again. It does not need to hold the hot drink vessel too. Check the tray’s material and load limits rather than treating a decorative tray as heat protection. Set the whole layout out with empty mugs first and see whether two people can pass each other.
Layout 2: a cart for mugs and toppings
A cart can free up the main counter, but it should be stable, level and out of the walking route. Use the top for the items guests reach for and lower shelves for unopened refills. Lock wheels where the cart provides locks. Keep hot liquids on a separate stable surface if the cart is lightweight, moves easily or is not designed for that load.
Think about access from the side as well as the front. A cart tucked into a narrow gap may look tidy but require people to reach over mugs to find a spoon. Put the most-used items at the accessible edge and move decorative extras to another part of the room.
Layout 3: a temporary side-table station
For a gathering, a side table can separate drinks from meal preparation. Protect the surface according to the table and serving-vessel instructions. Place the station where an adult can help younger guests and where a spill will not land on a power strip or walkway.
If an appliance is involved, follow its placement and electrical instructions. Do not stretch a cord across the route between the table and the kitchen. An appealing display is not worth losing a safe path through a small room. You can also pour drinks in the kitchen and use the side table only for toppings.
Choose three toppings with different jobs
A simple starting combination is mini marshmallows, chocolate shavings and sprinkles. This is a suggested menu, not a required purchase list. Use small serving portions and replenish them as needed instead of displaying every packet at once. Keep separate utensils with each topping.
Retain the original packages so guests can read ingredients and allergen information. Label dairy-free or other dietary options accurately based on their packaging, and avoid promising an allergen-free station when shared utensils or preparation areas could create cross-contact. Perishable toppings such as whipped cream should stay properly chilled rather than becoming permanent counter decor.
Optional containers: check the full footprint
The Tioncy clear 7.1-ounce topping-container listing describes 12 acrylic containers, each with a lid and spoon. The listed size is about 3.43 by 3.43 by 2.95 inches per container. Three across already occupy more than 10 inches before leaving room to lift lids and use spoons. A small station probably does not need all 12 on display.
The listing says not to put them in a dishwasher. These are topping containers, not a hot-drink dispenser, and we have not verified a hot-liquid temperature rating. Use a separate heat-safe vessel for cocoa. If you already own small bowls, try those before buying a coordinated set.
Check the Tioncy 12-container, 7.1-ounce clear set
A before-you-buy checklist
Count the mugs you will actually use at once. Measure the space left after the hot-drink vessel and a mug landing area are in place. Check whether lids can open under an upper cabinet. Decide where dirty spoons and used mugs will go. Then choose only the container or tray that solves a remaining problem.
After the gathering, clean and dry reusable items as directed, return unopened toppings to suitable storage and put the station away as one small kit. A temporary setup can be just as inviting as a permanent cocoa corner—and gives your counter back the next morning.
See coffee station layouts for small kitchens
Plan a pantry shelf for drink refills and backstock
Sources and product checks
Product information was checked against the exact retail listings and the sources below on November 9, 2026. These are researched planning and buying guides, not hands-on product tests. Check the selected variant, included items, current price and instructions before ordering.
Get Exclusive Coupon Codes
Deals and discount codes delivered to your inbox. No spam.
Get a Free Healthy Snack Box
Gluten-free, sugar-free, better-for-you snacks. No purchase required.
Claim My Free BoxSponsored offer. No purchase necessary.