Soup Freezer Containers: Choose Portions That Fit
SpartanShopper · November 10, 2026
Choose soup freezer containers by portion size, freezer footprint and reheating method, with a one-cup tray example and safe cooling guidance.
Choose soup freezer containers by the amount you usually eat and the space you can keep level while the soup freezes. One-cup portions are flexible: use one for a small serving or combine several for a larger meal. Individual lidded containers are simpler if you want to freeze, transport and reheat in the same compatible vessel.
Affiliate disclosure: SpartanShopper may earn a commission from purchases through links on this page, at no extra cost to you. As an Amazon Associate, we earn from qualifying purchases.
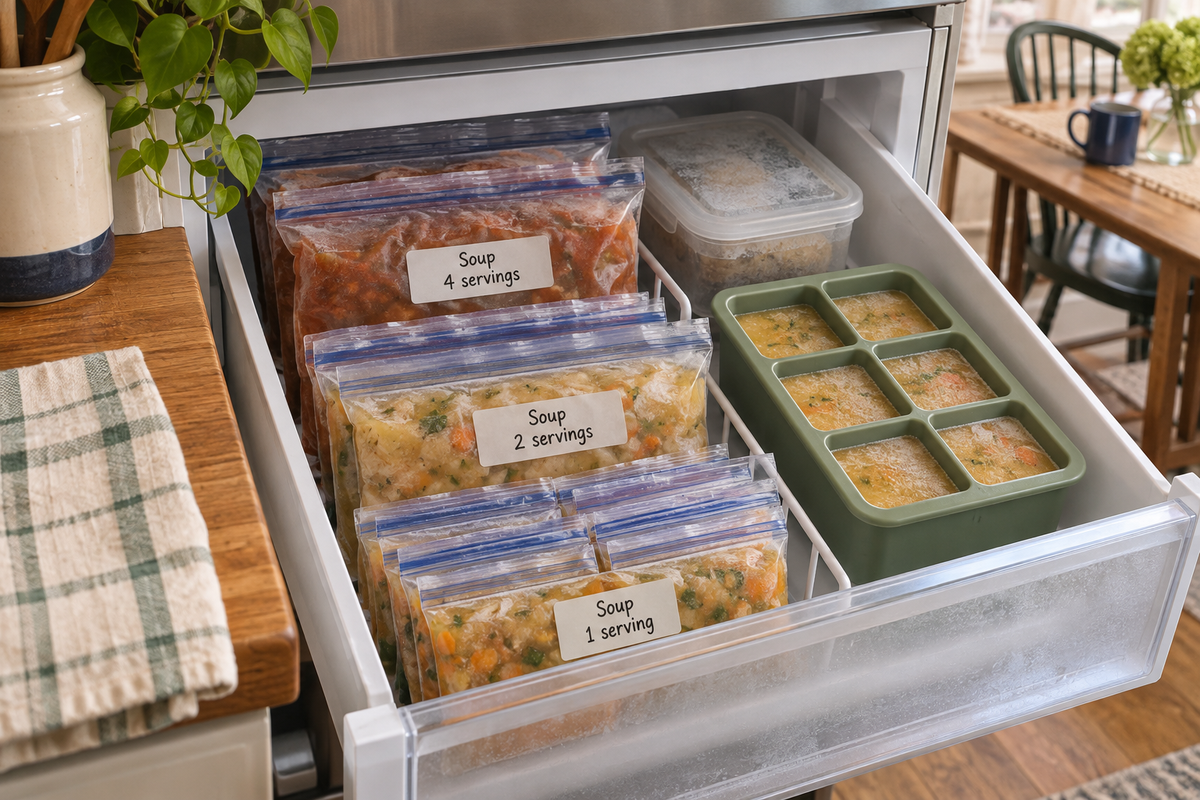
The cover image is an AI-generated editorial illustration, not a photograph of the linked product or proof of a tested project.
Start with the bowl you actually use
Measure a typical serving with a measuring cup rather than guessing from the size of a storage container. A small cup of soup alongside a sandwich may use less than a main-meal bowl. Choose portions for your own routine; there is no single serving size that suits every person or recipe.
Hypothetical planning example: a six-cup batch divided into one-cup portions gives six blocks. If your usual meal is two cups, that is three meals. This is a portion calculation, not a nutrition recommendation. Leave the fill allowance required by the container maker rather than filling every vessel to its rim.
Compare three storage approaches
A silicone portion tray makes repeatable shapes that can be transferred to suitable freezer bags after freezing. It takes up flat freezer space while in use and adds a transfer step. A set of individual freezer-safe containers can go straight into your storage routine, but lids and container shapes may use more room.
Freezer bags can fit awkward spaces and flatten some foods, but they need support while filling and a reliable seal. Use products labeled for freezing, and do not treat every bag as suitable for hot filling or reheating. Whichever method you choose, keep the preparation date, recipe name and portion amount with the food after transferring it.
A one-cup tray example
The linked Souper Cubes Kale two-pack has four one-cup compartments per tray. That gives eight one-cup compartments across the set. It can suit someone who regularly freezes several small portions and has room for the trays to sit level. It may be unnecessary for someone who freezes only an occasional single container.
Check the exact tray generation and its current use instructions. Freezer suitability does not automatically establish microwave, oven or lid compatibility. A straightforward approach is to move a frozen portion into a separate vessel labeled for your chosen reheating method and follow that vessel’s directions.
Check Souper Cubes one-cup molds, Kale two-pack
Measure the freezer before the shopping cart
Measure the usable shelf or drawer, including the height needed to slide the tray in without tilting it. Leave room to grip and remove the tray. A nominal shelf measurement can be misleading when a drawer slopes inward or a handle occupies the front edge.
Try a paper rectangle matching the listed outside dimensions. Put it in the freezer with the food already there. If the plan requires emptying an entire shelf each time, individual containers may fit your household better. Stack only as the manufacturer allows and only when the contents and lids can remain stable.
Cool safely before long-term storage
USDA advises dividing leftovers into shallow containers and refrigerating promptly. Do not leave perishable food out longer than two hours, or one hour when the temperature is above 90°F. Keep the refrigerator at 40°F or below and the freezer at 0°F. A large pot should be divided into smaller portions for cooling; do not wait for the entire pot to cool on the counter.
A freezer tray is a storage tool, not a substitute for safe cooling. Use clean containers suitable for the food temperature and follow their instructions. If you are unsure how a particular recipe should be handled, follow authoritative food-safety guidance rather than copying a social video’s cooling routine.
Reheat with the food and container in mind
USDA recommends reheating leftovers to at least 165°F, measured with a food thermometer, and bringing soups, sauces and gravies to a boil. Stir microwave-heated food, cover as directed and allow the recommended standing time so temperature is more even. Do not use a slow cooker to reheat cold leftovers.
Keep a small freezer inventory: recipe, date, number of portions and where they are stored. Choose the oldest suitable portion before making another batch. The container system works best when you can see what you have and remove just the amount you need.
Organize meal-prep ingredients and backstock
Compare space-saving kitchen tools
Sources and product checks
Product information was checked against the exact retail listings and the sources below on November 9, 2026. These are researched planning and buying guides, not hands-on product tests. Check the selected variant, included items, current price and instructions before ordering.
USDA: handling leftovers safely
Get Exclusive Coupon Codes
Deals and discount codes delivered to your inbox. No spam.
Get a Free Healthy Snack Box
Gluten-free, sugar-free, better-for-you snacks. No purchase required.
Claim My Free BoxSponsored offer. No purchase necessary.